I recently set up this blog and I figured as my first real post I could go through the steps it took to set this up.
Universal concepts:
AWS - Amazon Web Service,注意注册的时候需要提供一张具备外币功能的信用卡
S3 - Amazon Simple Storage Service,亚马逊提供的一种存储静态资源
CDN - Content Delivery Network,内容分发网络
Amazon CloudFront - 亚马逊提供的一种内容分发服务,提高你的网站访问速度
Creating the site
First,you should make sure the Command Line Tools has been installed.
If not,you can install it by Xcode- Preferences - Download.
Second,you should install Homebrew.More information on Homebrew can be found here.
Run this through console:
ruby -e "$(curl -fsSL https://raw.github.com/Homebrew/homebrew/go/install)"
This assumes you have a version of ruby loaded.More information on setup can be found here: Octopress setup Run this through your console:
git clone git://github.com/imathis/octopress.git octopress
cd ocotpress
sudo gem install bundler
bundle install
rake install
rake new_post["first_post"]
and start up the server
rake preview
By the way, if the sudo gem install bundler show timeout or other error. You should change the gem source like this:
gem source --add 'http://ruby.taobao.org/'
gem source -u
You should see the blog up and running if you punch in http://localhost:4000 in your browser.
Setting up the S3 bucket(as a static site)
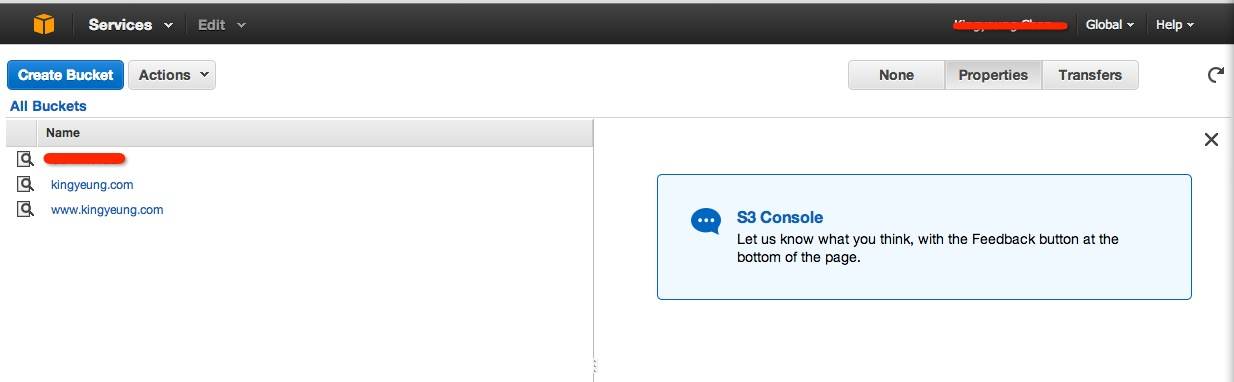
Amazon is able to host static sites directly through S3 bcukets they provide.You are going to want to add a bucket with the name
of www.yourdomain.com and other bucket with name of yourdomain.com. Why create two bucket? Because we want to ensure
that the user either enter www.yourdomain.com or yourdomain.com can visit our website.
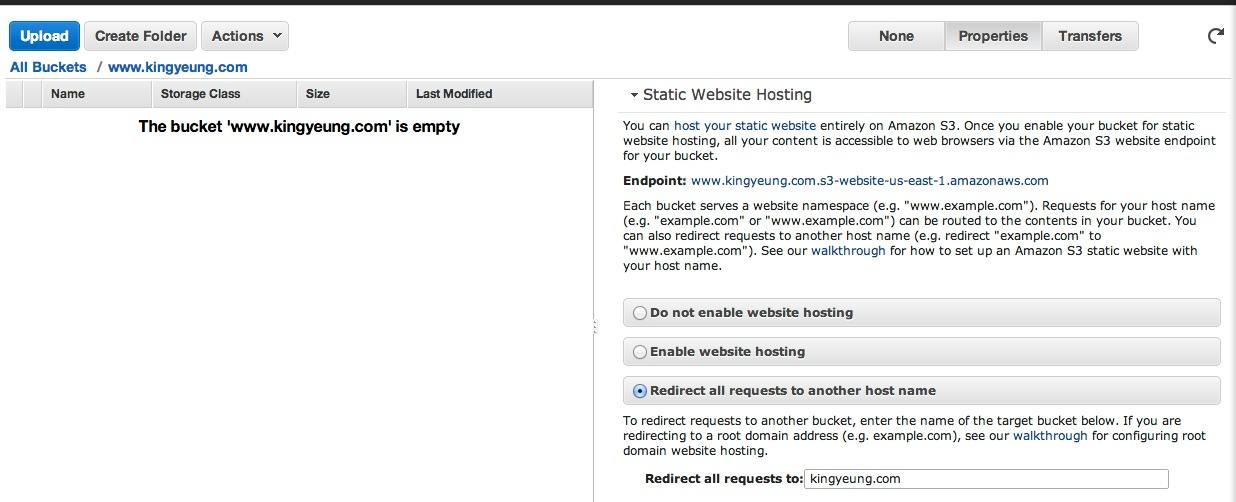
Select the bucket with name of www.yourdomain.com. Then click on the properties, redirect all requests to another
host name, and set redirect all request to yourdomain.com. The access from www.yourdomain.com bucket
are automatically forwarded to the bucket yourdomain.com. We just need to sync our blog file to yourdomain.com bucket.
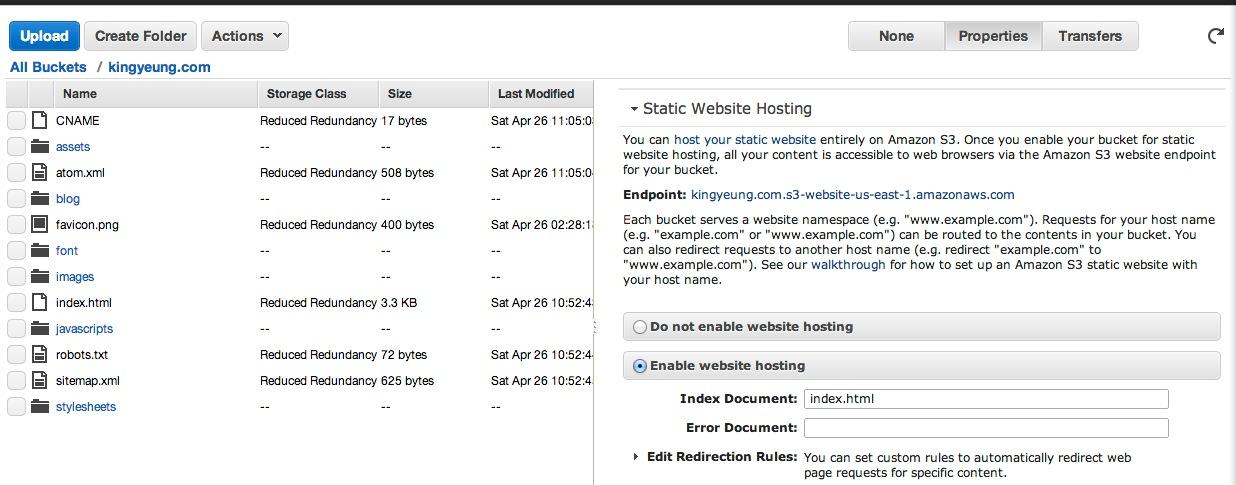
Select the bucket with name of yourdomain.com. Then click on the properties, enable website static hosting, and set
the index document to index.html.
kingyeung.com.s3-website-us-east-1.amazonaws.com would be my endpoint
In bucket yourdomain.com, and click the permissions, edit bucket policy:
{
     "Version": "2014-05-02",
     "Statement": [
          {
               "Sid": "AddPerm",
               "Effect": "Allow",
               "Principal": {
                    "AWS": "*"
               },
               "Action": "s3:GetObject",
               "Resource": "arn:aws:s3:::yourdomain.com/*"
          }
     ]
}
This policy is for all anonymous users to access the file inside bucket.
Then edit CORS configuration :
<?xml version="1.0" encoding="UTF-8"?>
<CORSConfiguration xmlns="http://s3.amazonaws.com/doc/2006-03-01/">
    <CORSRule>
        <AllowedOrigin>*</AllowedOrigin>
        <AllowedMethod>GET</AllowedMethod>
        <MaxAgeSeconds>3000</MaxAgeSeconds>
        <AllowedHeader>Authorization</AllowedHeader>
    </CORSRule>
</CORSConfiguration>
So other websites can access the resoures on this bucket.
Setting up s3cmd
I'm going to use s3cmd to upload our site to S3, this will allow us to push the site up
through a rake task (and do some heavy lifting for us) In Mac I suggest installing
s3cmd through brew.
c
$brew install s3cmd
$s3cmd --configure
You’ll have to enter your S3 API keys when prompted (your Access Key ID and Secret Access Key).
It should end up writing a file in ~/.s3cfg which contains your amazon credentials. Tis would
allow you use s3cmd from the deploy rake task that we'll build.
Deploy to Amazon S3 static site
Paste this at the bottom of your ocotpress's Rakefile:
deploy_default = "s3"   #部署task
s3_bucket = "yourdomain.com" # bucket名称
s3_cache_secs = 3600  # header中的cache controll属性,即缓存时间,后面CloudFront要用到
And then create a new task
desc "Deploy website via s3cmd"
task :s3 do
  puts "## Deploying website via s3cmd"
  ok_failed system("s3cmd sync --acl-public --reduced-redundancy --add-header
\"Cache-Control: max-age=#{s3_cache_secs}\"  public/* s3://#{s3_bucket}/")
end
Let’s deploy!
$rake generate && rake deploy
Configuring Cloudfront
We want this site to be very faster, by pushing out our static site to CloudFront we can gaurantee a faster
load time than our regular S3 bucket.
Let's head back over to Amazon CloufFront and create a distribute. Click Create Distribution,
Choose Web for the next step. Now here comes the tricky part. In the Origin Domain Name box, make sure
enter your Endpoint URL. The box will auto complete to your bucket, but not the actual custom origin
that you have setup with your static site. In the Alternate Domain Names(CNAMEs) box, enter in www.yourdomain.com
and yourdomain.com. You can leave everything else as default. And last set the Default Root Object to index.html.
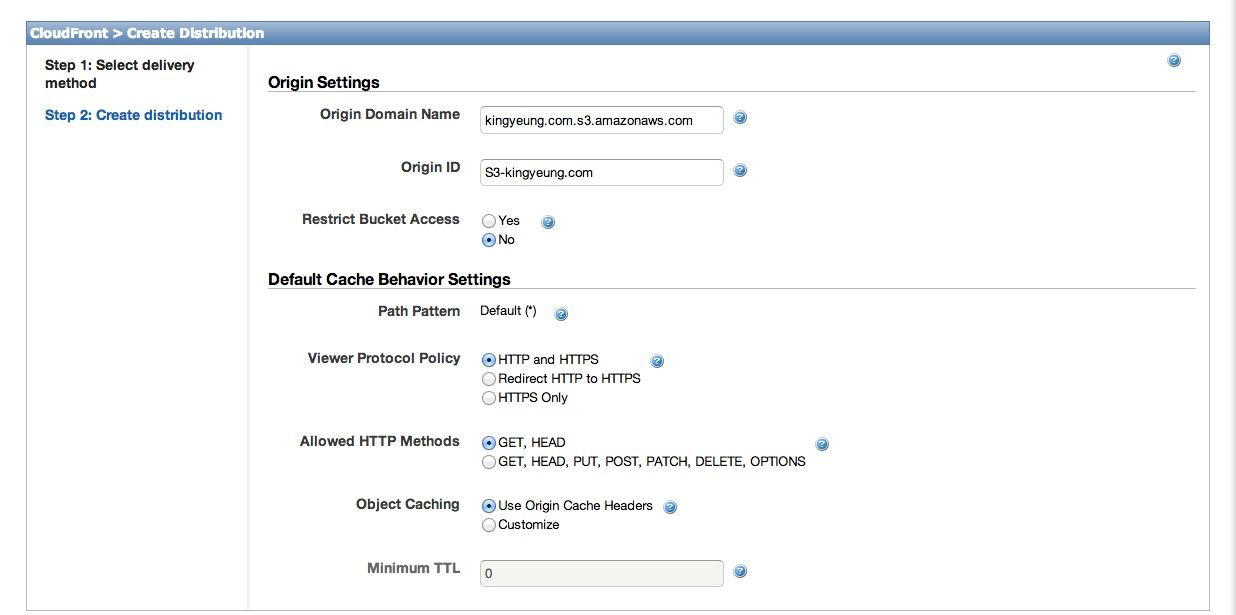
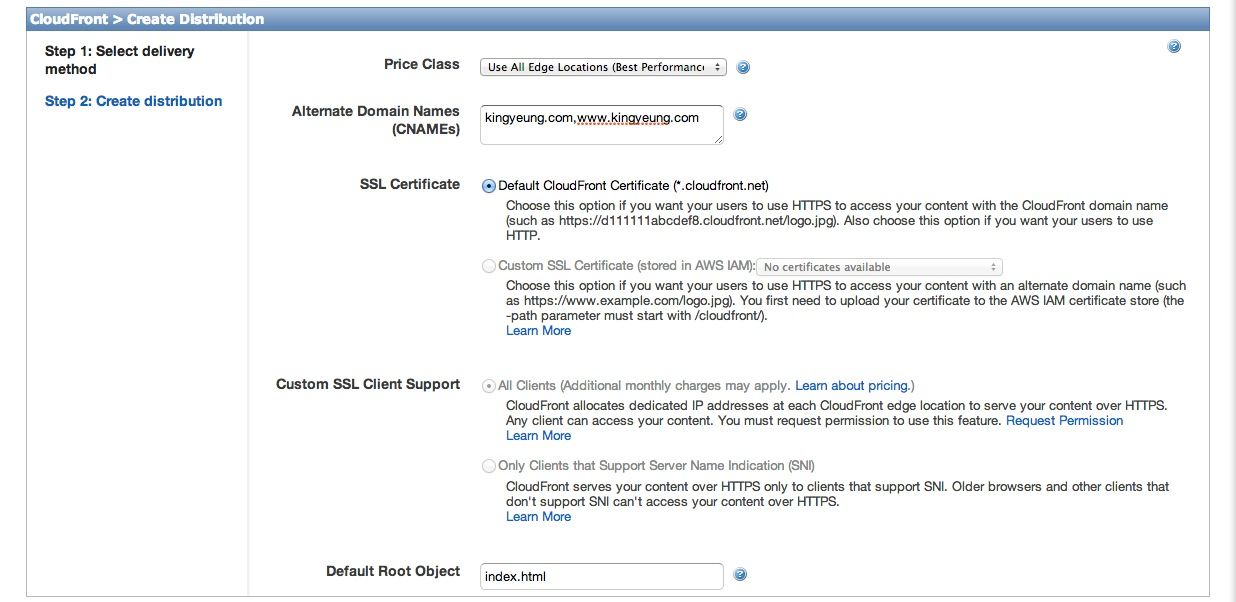
Here’s what it should look like once you’ve created your distribution:
It will take about 10-15 minutes to distribute across the globe.
Once it’s finished you should be able to visit your site through your CloudFront Domain Name
(Do not mistake with www.yourdomain.com).
IE:http://d2jff1jgoxjjpf.cloudfront.net
Updating your DNS settings
We’ll need to change up our DNS settings to make sure that
www.yourdomain.com now points to the CloudFront Domain Name.